Thank you for purchasing the finest and only grab handles specifically manufactured for the purpose. Installation is simple and easy on flying aircraft or those under construction.
If you are still building, please wait until your canopy frame is completed to insure the proper clearance between the frame and the handle.
Please keep in mind that every roll bar and every canopy frame are slightly different. Due to these differences the handles and drill guide may not an exact match to the contour of your frame or roll bar. It will, however, be very close!!
Tools needed
Most of these tools should already be in your inventory from your build. If not, you can obtain from most ACE hardware stores or on line.
- Long number 40 drill bit (6” or longer)
- Drill bit stop
- 2 C clamps with 2” depth
- #31 drill bit (or fractional equivalent)
- #27 drill bit (or fractional equivalent)
- Allen wrench for 6-32” socket head bolt
Handle Installation
| 1 |
Start by closing the canopy frame so it is either latched or in the closed position. |
| 2 |
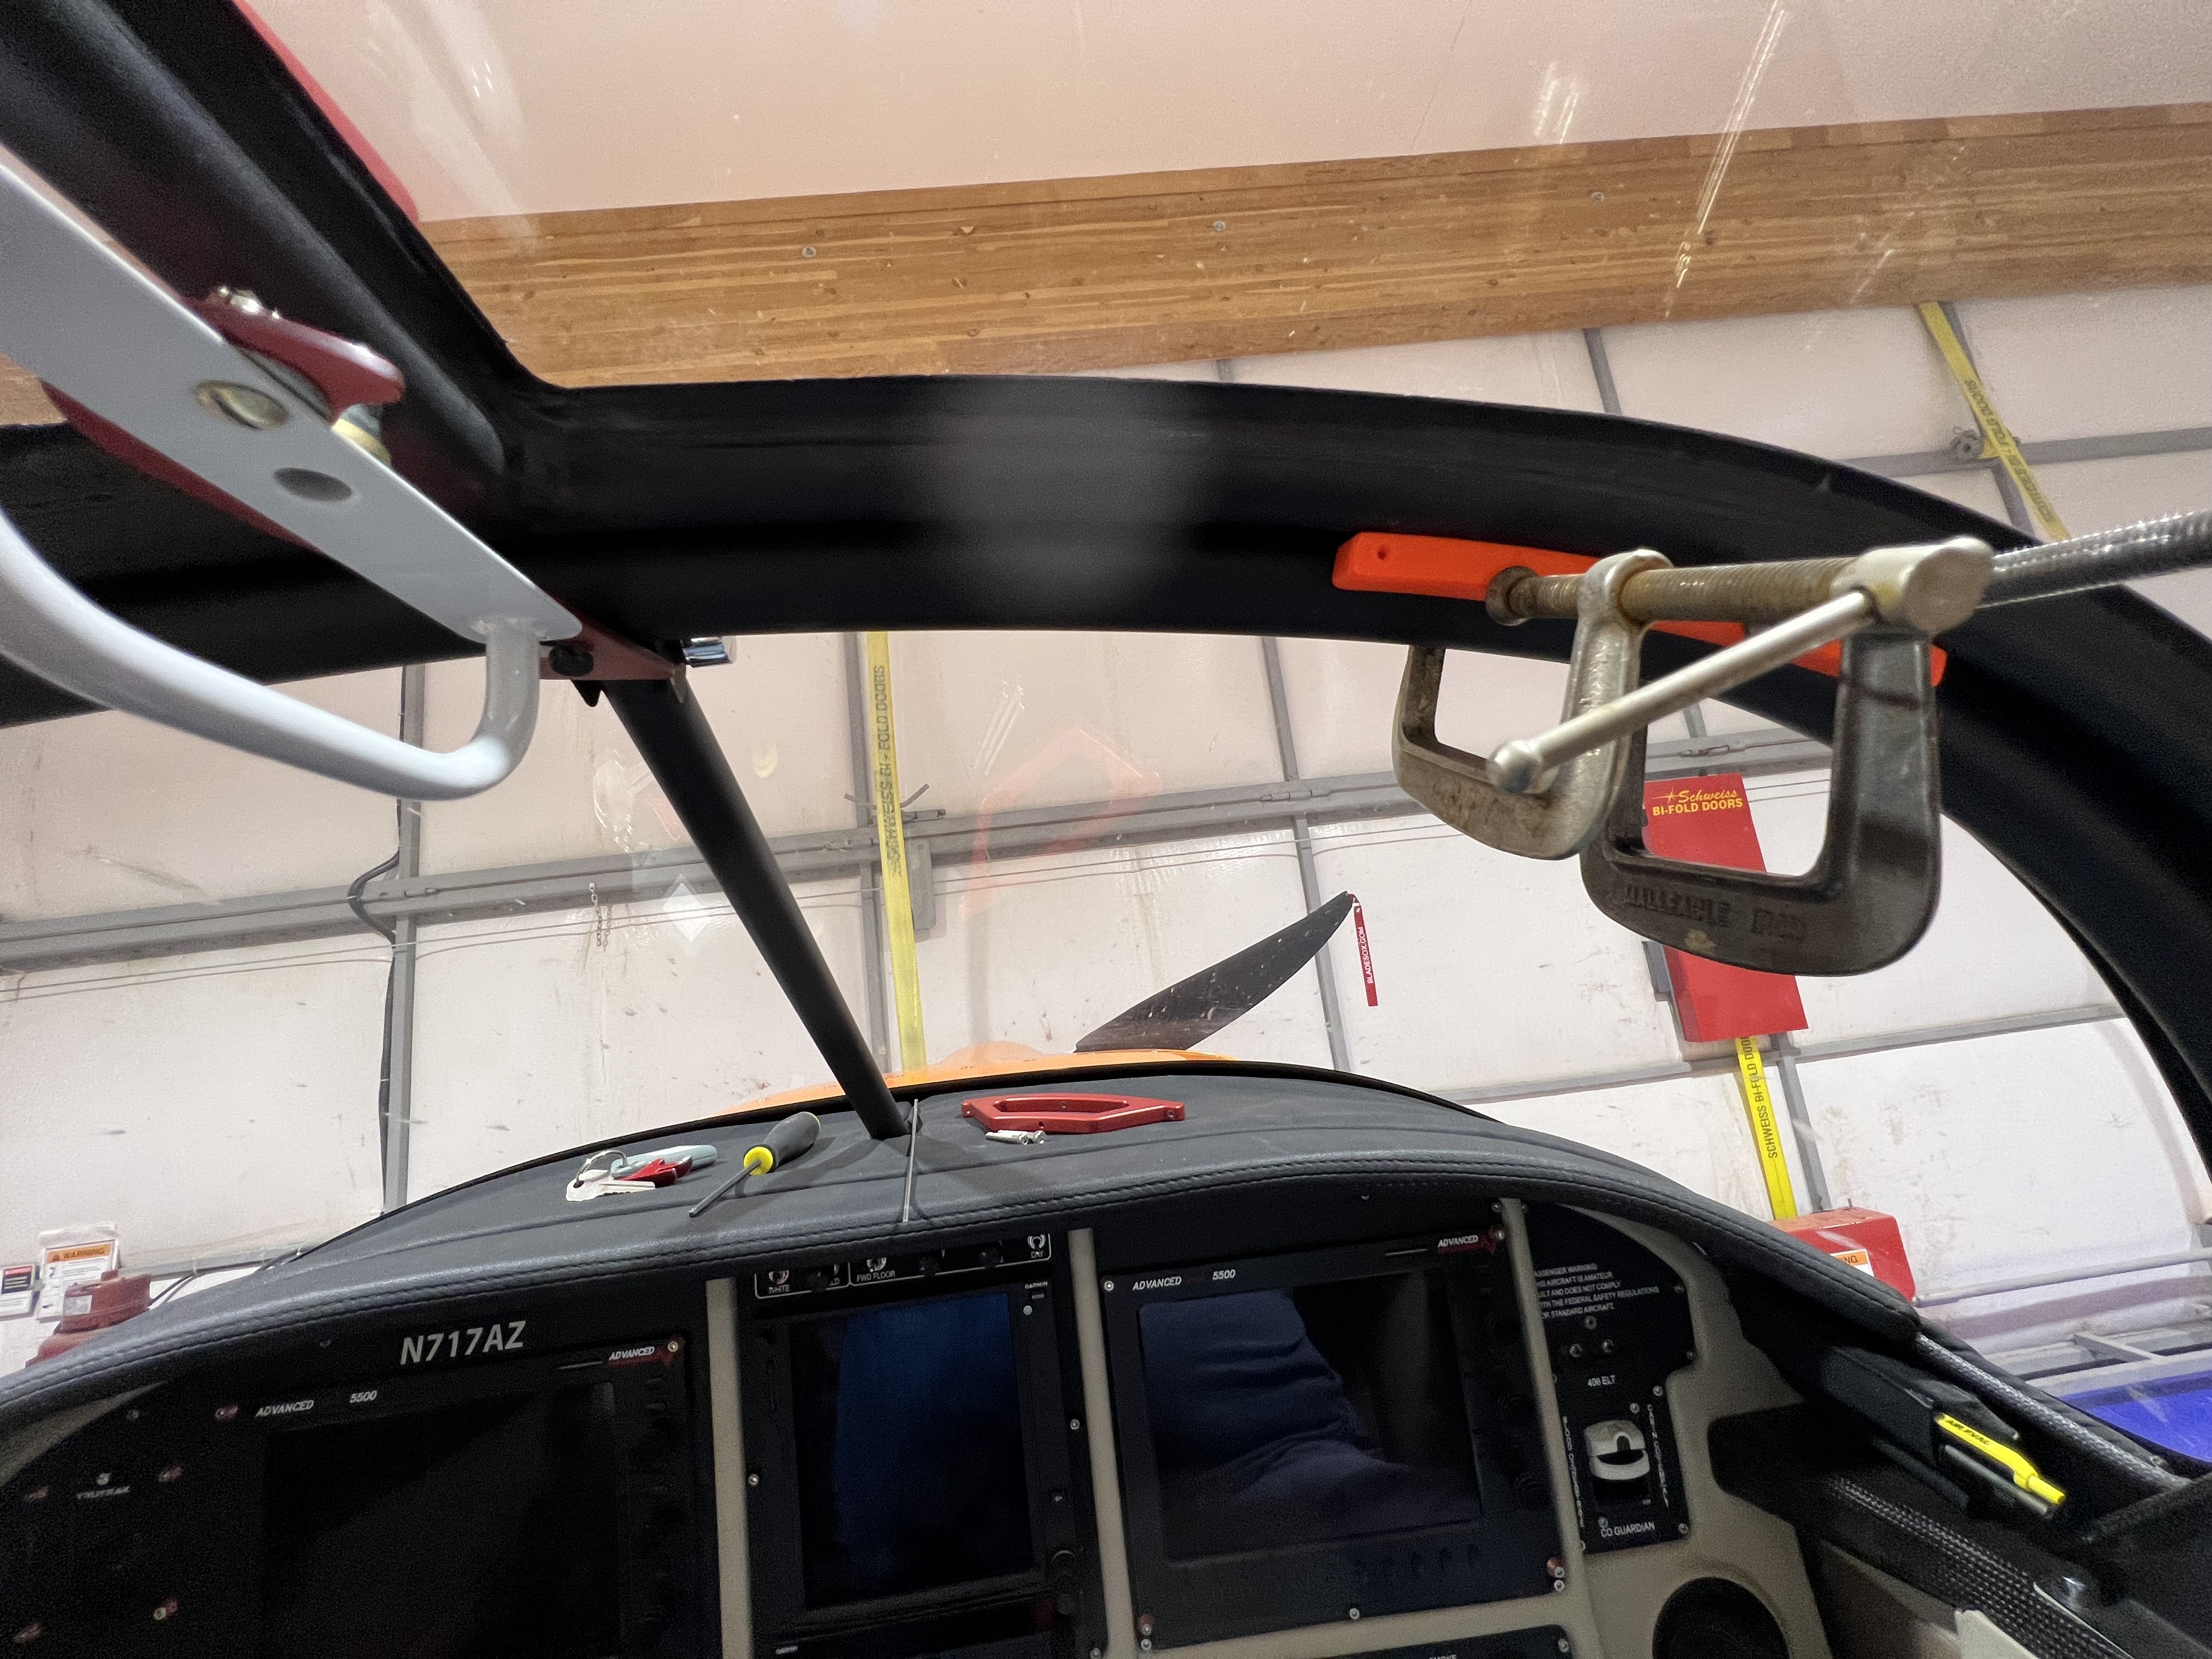
Slide the drill guide along the underside of the canopy frame to find the best match to the contour. Should be approximately 7.25”- 7.50” (184mm-190mm) from the latch pin on the Roll Bar.
|
| 3 |
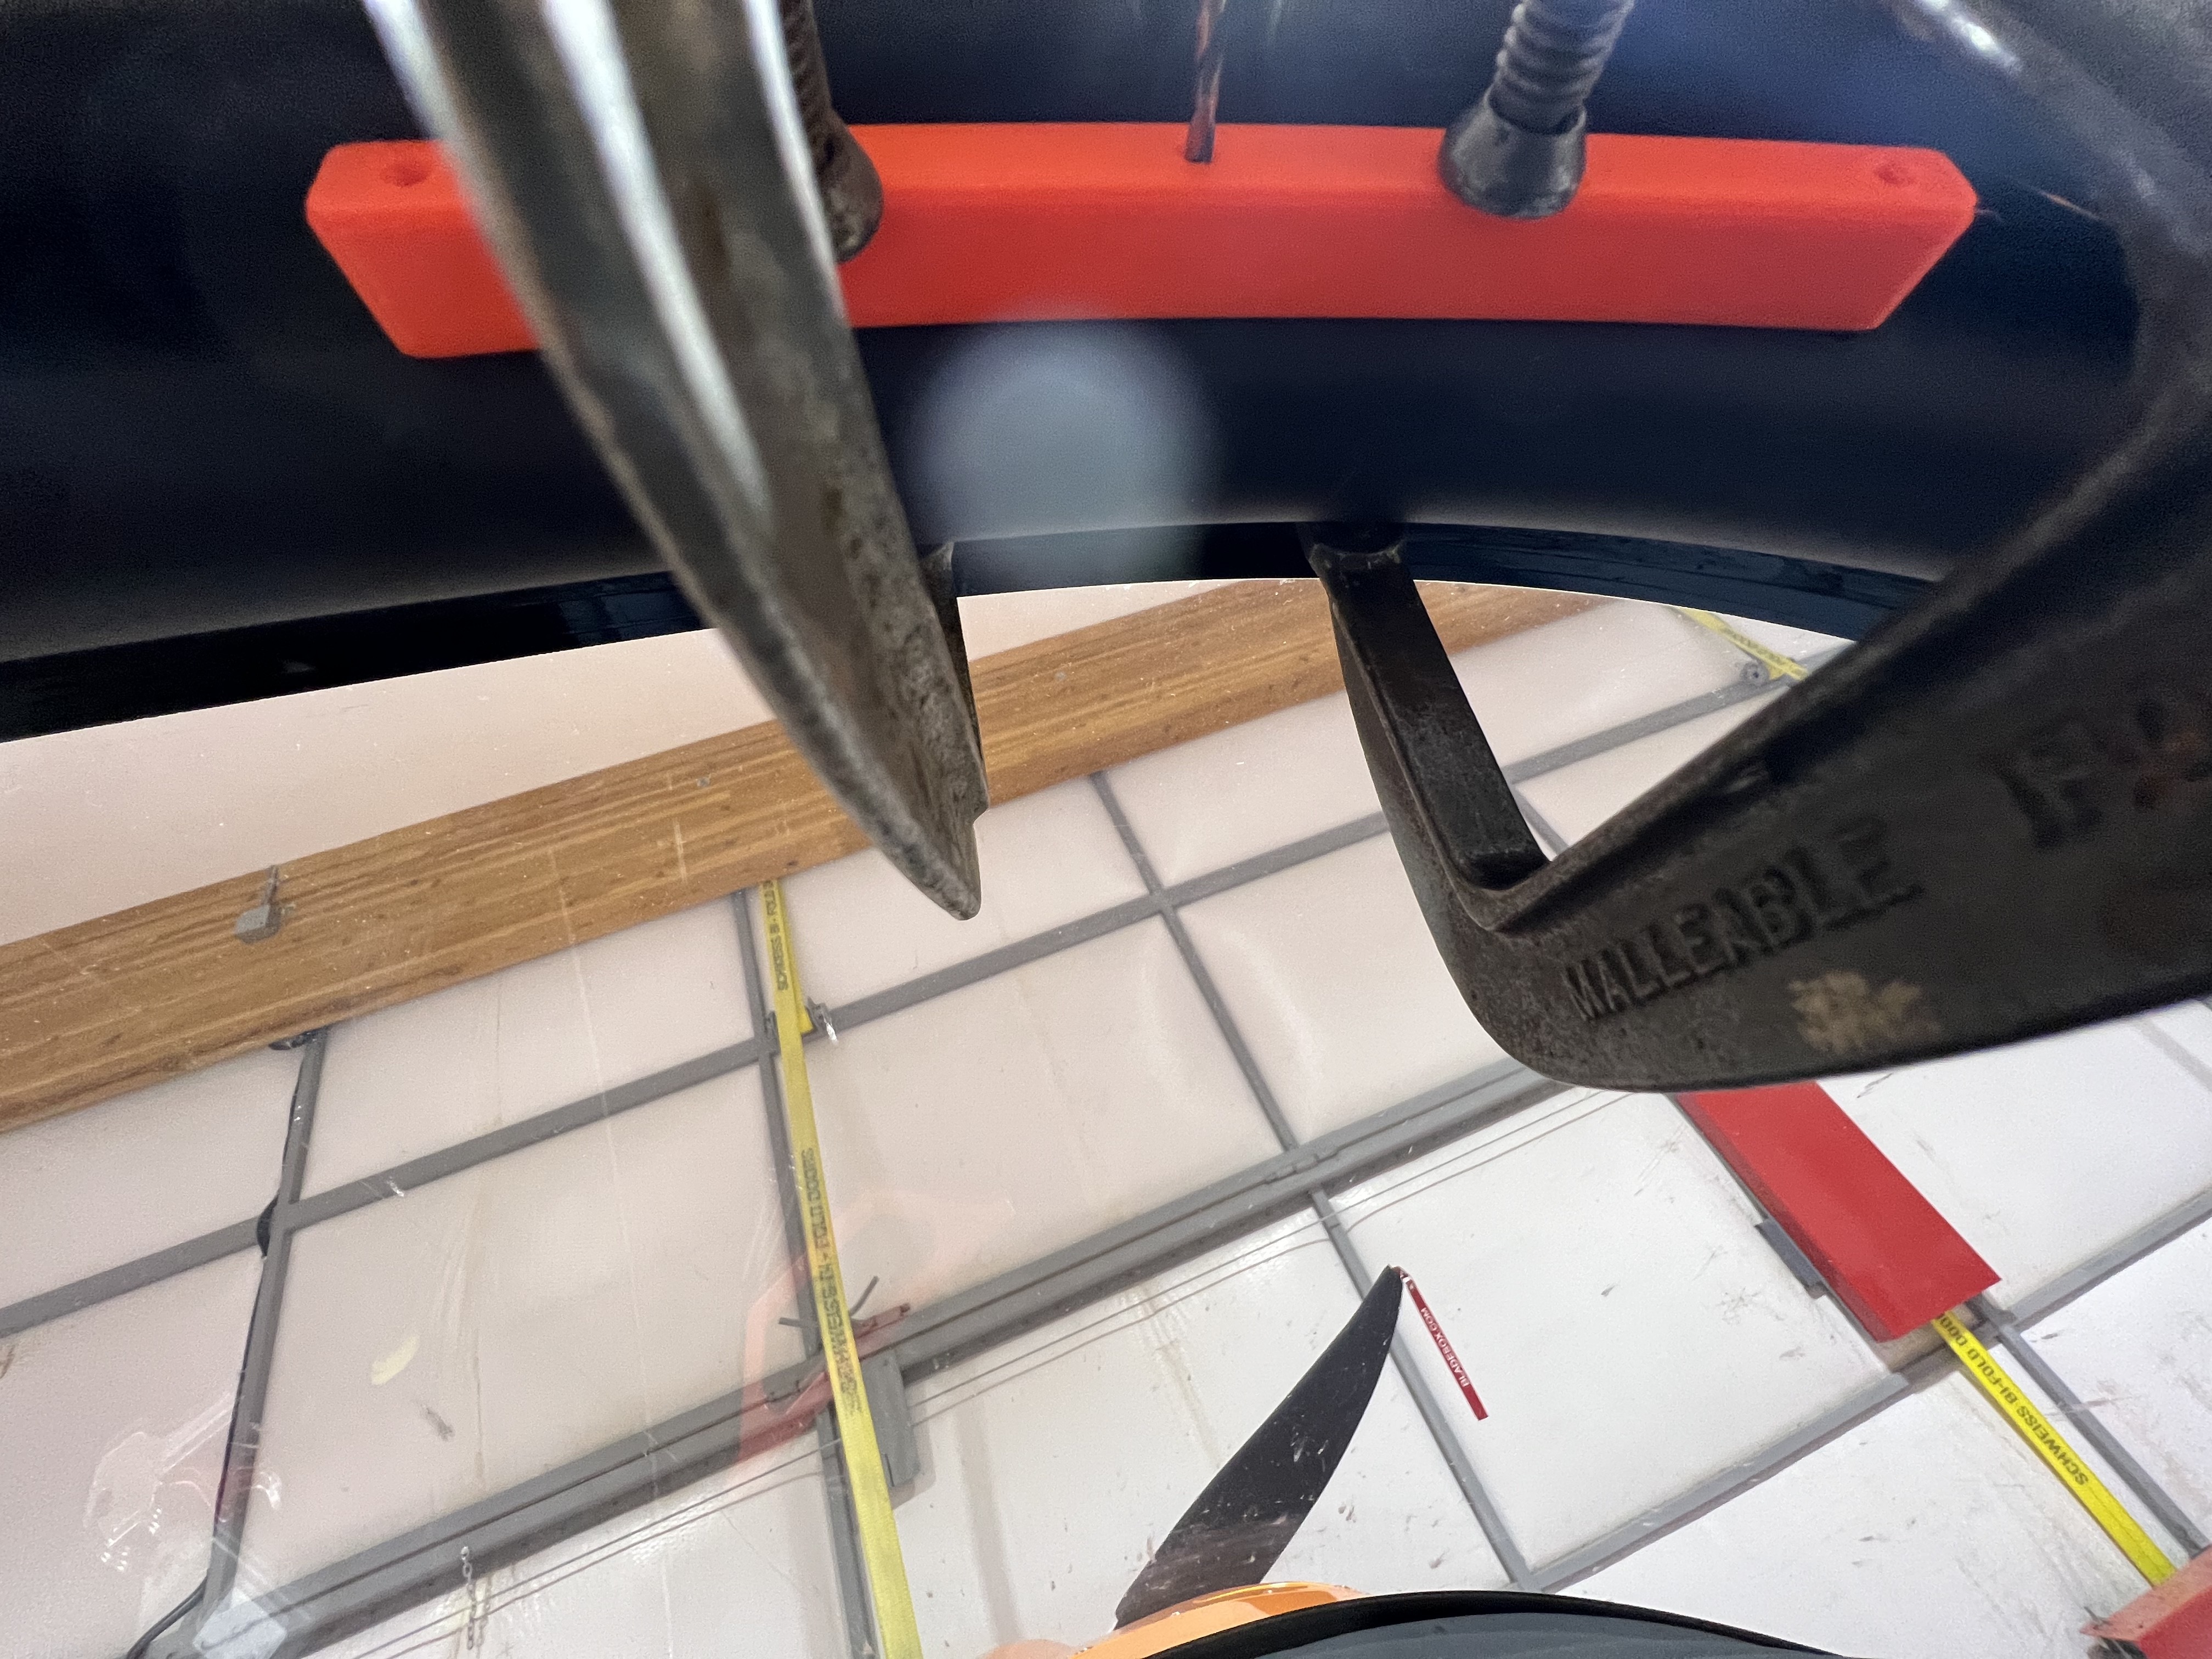
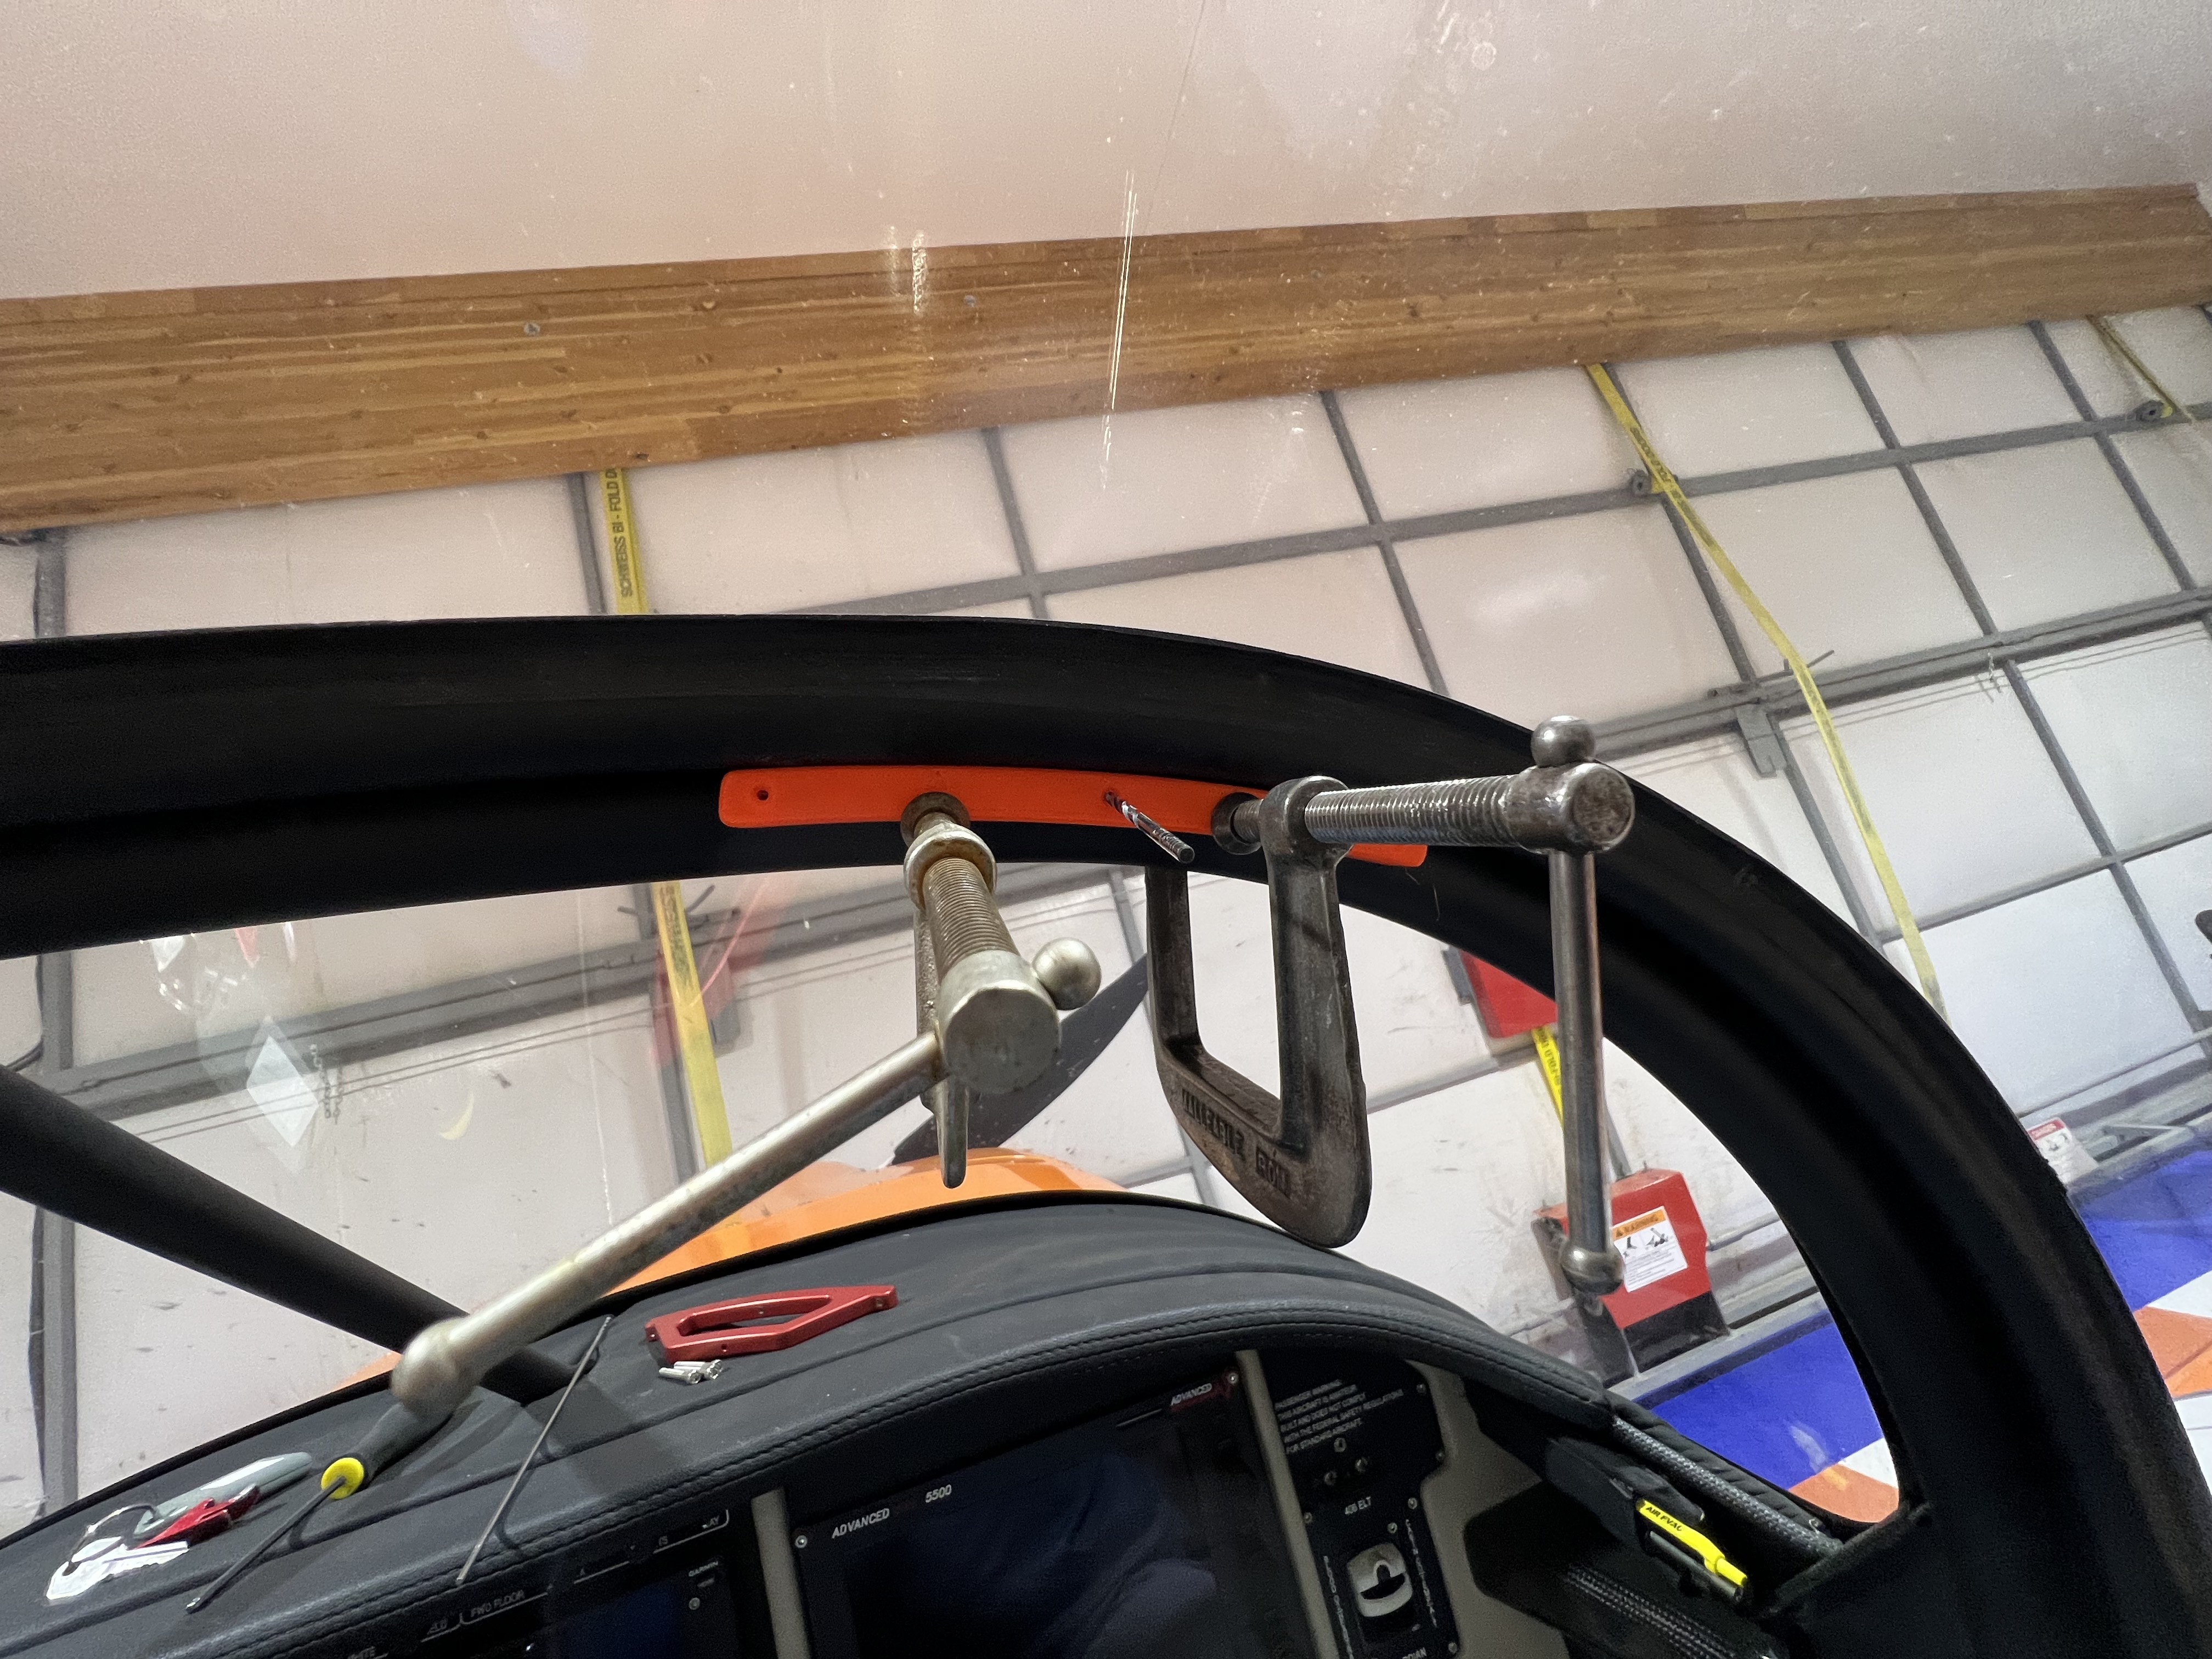
Press the drill guide tightly against the canopy frame. Clamp the drill guide in place with C Clamps or some other comparable clamping devices, between the 3 holes in the guide.
|
| 4 |
Set your drill stop on the #40 long bit for 2 inches. If you are using some other clamping device, a standard-length bit may work. |
| 5 |
Drill the 3 holes through the drill guide and the roll bar. Make sure you have drilled all the way through the roll bar, both sides. |
| 6 |
Remove the drill guide. The drill guide is to be used ONLY for the #40 drill bit. Reduce the drill stop to 1.5.” Run the drill bit through each hole and through the other side again. |
| 7 |
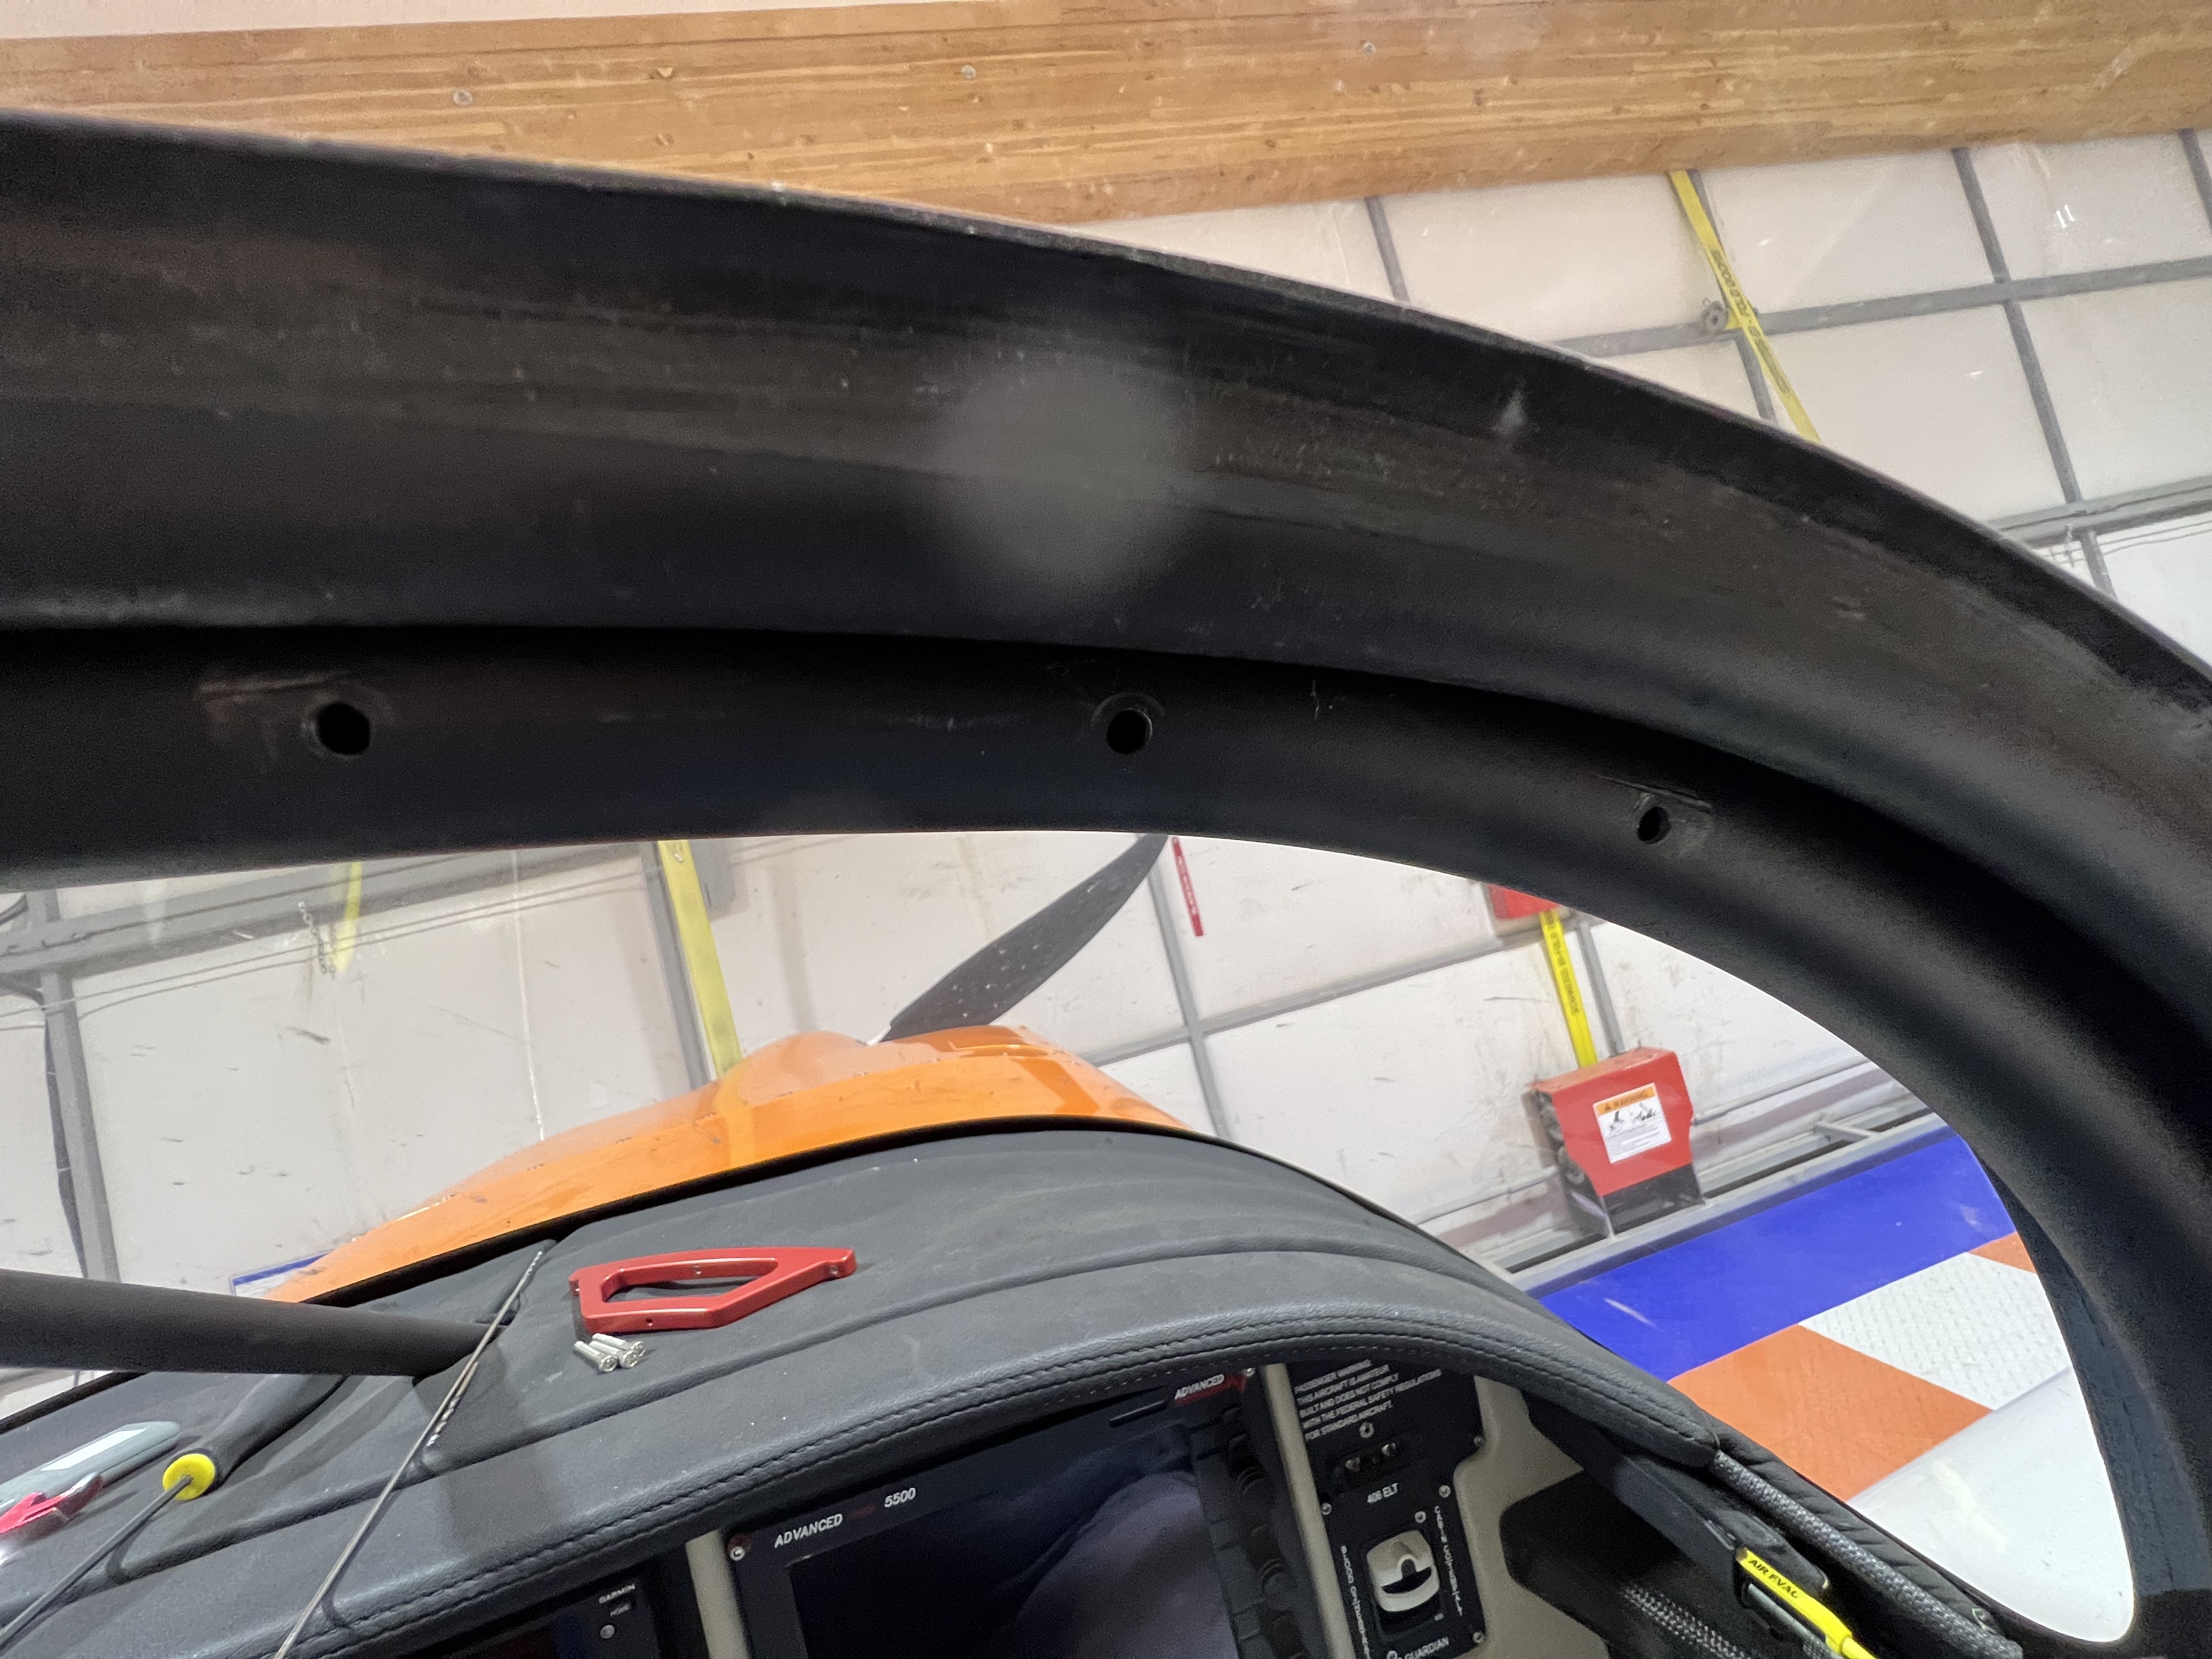
With a standard #31 drill bit drill through each hole and through the back side. Repeat with the #27 drill bit. De-burr the holes.
***Note-The slightly oversized holes greatly assist in alignment when you install the handle.
|
| 8 |
Place a washer on a bolt and feed through the center hole from the front of the roll bar to the back. Start it onto one of the handles center hole. DO NOT TIGHTEN. Repeat with the other 2 bolts. Tighten each a little at a time. Do not over tighten. Yank, pull and test the integrity!!! |
| 9 |
If desired, remove one bolt at a time and add a small drop of Blue Locktite and reinstall. Repeat with the other bolts. |
Repeat install process with the other side.
 Loading... Please wait...


